
I love a good pizza night at home, where you can sit back however way you want, wear your comfy/daggy clothes and eat your heart out. 🍕
There are a few good takeout pizza places in my ‘hood, but I like my pizzas to have a thin crust and be super loaded with toppings, so here we are…
Check out my Reel or TikTok for a quick ASMR recap on how I made my garlic prawn pizzas.
When we’re lazy, we use wraps as bases. This time I made my own base, because it’s a weird lifelong dream of mine to be able to make pizza dough. 🏆
Ingredients for garlic prawn topping
- Prawns – as many as you’d like and don’t hold back like the shops.
- Garlic – as much as you like. I used up 2 whole garlic bulbs!
- Olive oil
- Butter
- Dried parsley
- Cherry tomatoes – about a punnet
- Red onion
- Tomato paste – I just use store bought sachets
- Dried chilli flakes
- Shredded cheese – about a bag
- 1 x lemon
Here’s the homemade pizza dough post, it totally deserved its own blog. The best part – it’s a same-day pizza dough recipe, so you can make it mid-morning and have it ready to use by dinnertime!
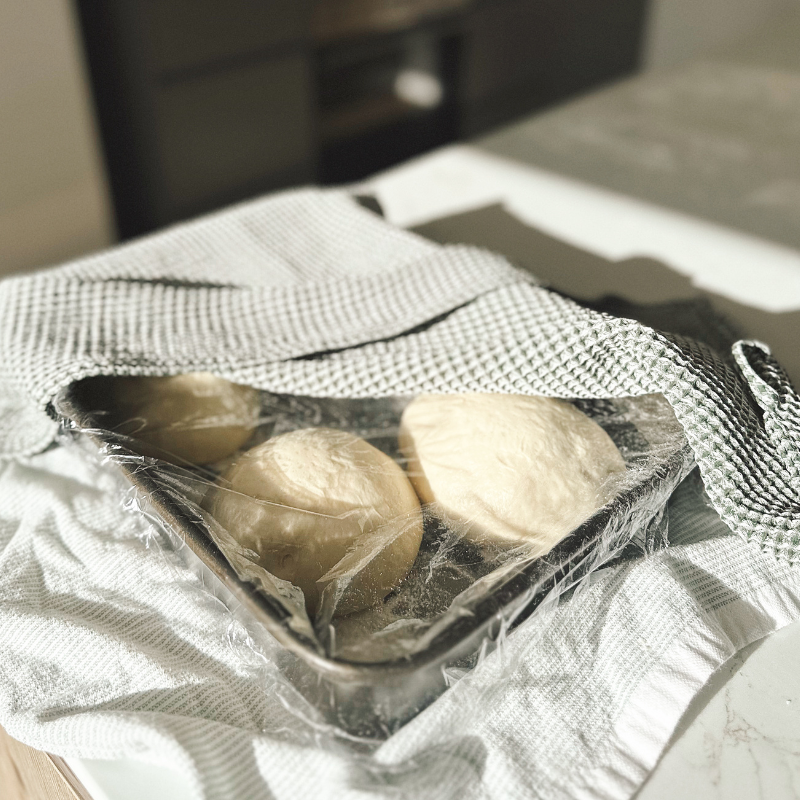
Full dough deets in the other blog, but I’ll just say that I only let it rise for 3 hours instead of 6, and it still turned out relatively good without being ‘bready’.
Prepping the pizza toppings
Step 1: Prep the prawns
I defrosted some frozen prawns earlier in the afternoon, but I’ve also previously bought packets of fresh garlic-marinated prawns from the shops. Devein and de-shall your prawns (including the tails).
Step 2: Chop up loads of garlic
I like to chop up my garlic into small rough pieces, but you can mince yours finely. If you’re feeling lazy, you can use the store bought jars of garlic mince but I feel like fresh garlic tastes better.
Step 3: Cut up onion, lemon & tomatoes
Cut up about 1/4 of a large red onion into thin slices. You can use more if you’re making more pizzas.
Cut a large lemon into 4-8 wedges and set them aside for later. You’ll use them when the pizzas are ready.
Half your cherry tomatoes. You can use any kind of baby tomatoes or even normal sized ones.
Now you should have all the topping ingredients ready for action.

Step 4: Cook the prawns
Heat up a medium sized frying pan or saucepan (have a lid handy). Once the saucepan is hot, add olive oil, garlic and butter. Cook for about 2 minutes on medium heat, but we’re not looking for colour yet! Add the prawns and stir the garlic through. Switch to low heat, put the lid on and let it all cook for about 5 minutes.
Transfer the garlic prawn mixture to a clean bowl, then add a few more splashes of olive oil so you can drizzle that over the pizza later.
Step 5: Turn on oven
I pre-heat my oven to 250 degrees C fan force (that’s my oven’s maximum). It’s never going to be as good as a real pizza oven, but the heat helps cook everything faster.
I don’t have a cast iron or stone tray but if you do, it makes all the difference. You can use baking paper like me for my pizzas, or feel free to just flour up your trays.
Prepping the pizza bases
Step 6: Cut pizza dough
The pizza dough recipe yields about 4 medium sized pizzas, but you can easily make 2-3 larger pizzas. My dough balls became one from the rising and expanding, so I had to re-cut them and ball them up again. 😂


Luckily I was able to save them, and now it’s time to put everything together.
Assembling the garlic prawn pizzas
Step 7: Roll out a pizza base
FYI – I’m not a pro, so don’t come at me about my approach! 🥲 I’m still figuring things out… I let the dough stretch naturally in the air as much as possible without it ripping. Then I press out the centre on the tray so it’s nice and thin. I leave the crust a little thick so it can rise more.
Step 8: Topping time!
Spread a generous amount of tomato paste to the base, then place as many prawns as you’d like on the pizza.
Drizzle the garlic sauce onto some of the gaps and sprinkle the shredded cheese all over.
Add the cherry tomatoes and red onion slices, then sprinkle with chilli flakes.
Step 9: Cook the pizza
Throw your pizza in the oven and let it cook for about 5-10 minutes (depending on how cooked you like it). I personally wait until I see the cheese is darker and the crust has nice black, charred bits.

I probably could have left mine in the over for another 2-5 minutes… Either way, I was really happy with the taste of it!
This isn’t the prettiest photo but it’s my favourite because you can see the air pocket from the crust. And for someone who’s never made a good pizza from scratch before, that’s a pretty big achievement!

We made 3 medium pizzas that night and had 1 dough ball left. I didn’t let that go to waste, but I’ll share what I did with it next time. 🥰

Leave a comment